As of April 2026, we’re integrating Bridge’s stablecoin-backed card capabilities with Stripe Issuing. This combined stack gives you a seamless card issuing API with the full stablecoin capabilities of Bridge and operational and compliance expertise of Stripe. If you’re looking for the previous Bridge Cards API, see the legacy documentation.
Entity model
Each individual cardholder is represented in two systems:| Object | System | Description |
|---|---|---|
| Customer | Bridge | Holds the cardholder’s identity, KYC status, and cards endorsement. You create and manage this via the Bridge API. |
| Cardholder | Stripe | Created automatically by Bridge once the cards endorsement is approved. Used to create and manage cards via the Stripe API. |
stripe_cardholder_id on the customer object. All card operations (create, freeze, manage spending controls) are done via the Stripe API using that cardholder ID.
Onboarding process
This step is not required for active developers transitioning to the Stripe integration.
| Step | # users | Timeline |
|---|---|---|
| Kickoff | 0 (sandbox only) | After signing addendum |
| Production testing | 10 (internal employees) | ~2 weeks after kickoff |
| Go Live launch | Unlimited (external customers) | 6-8 weeks after kickoff |
Technical integration
Step 1: Set up Bridge developer and Stripe account
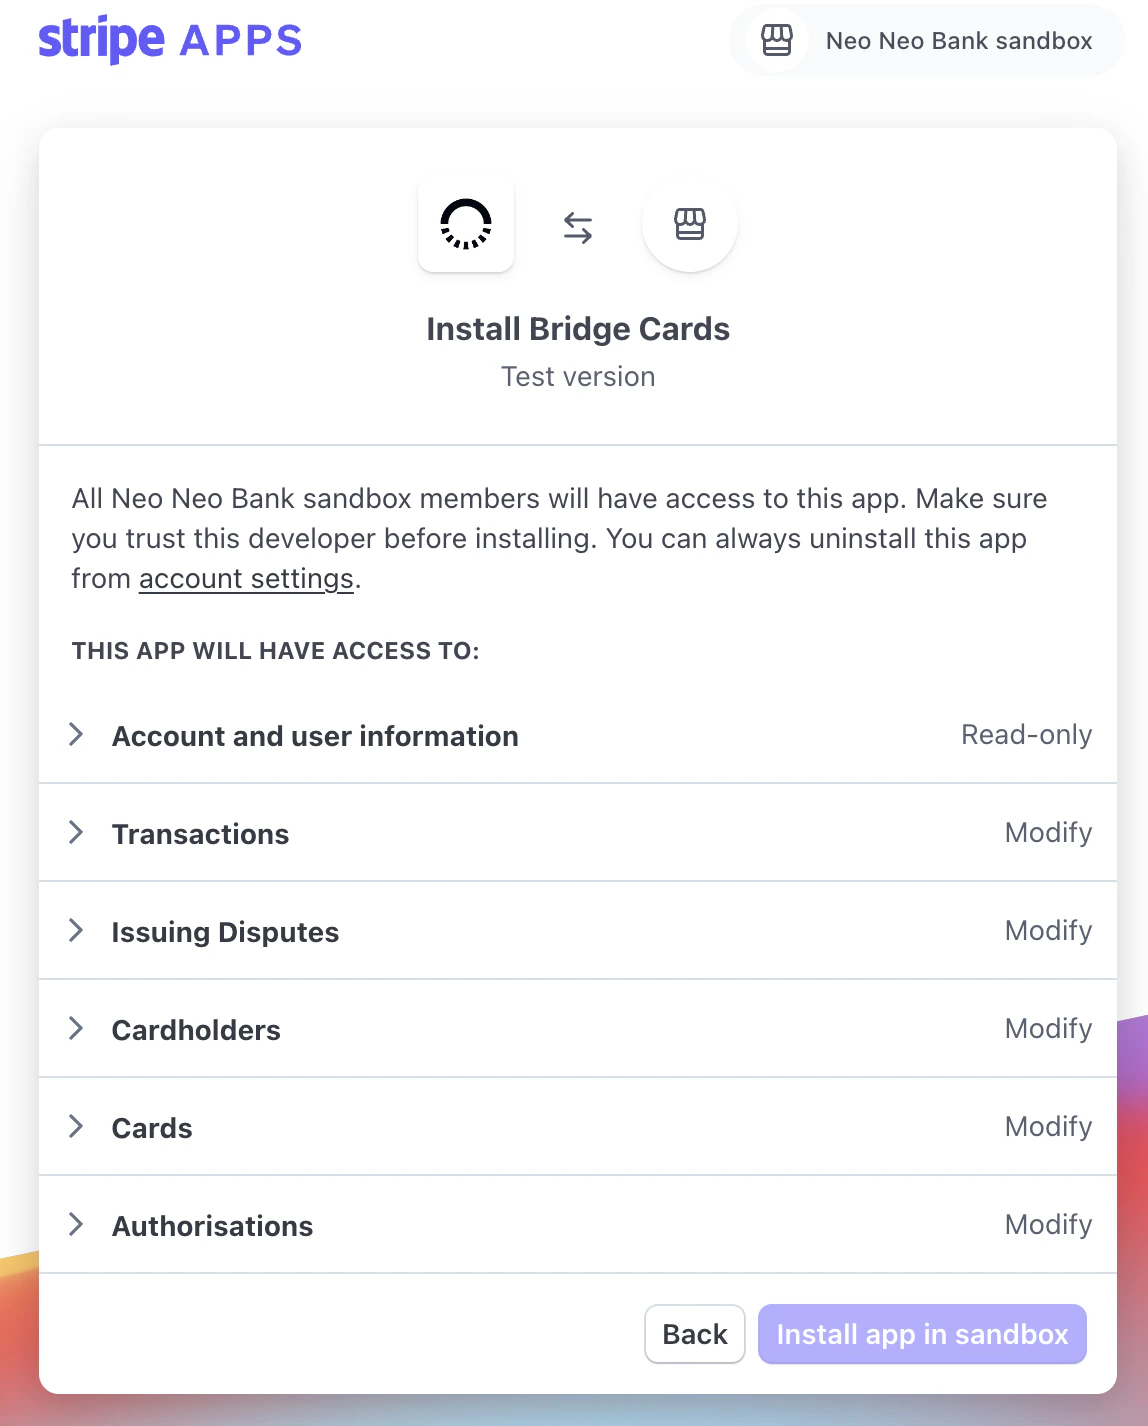
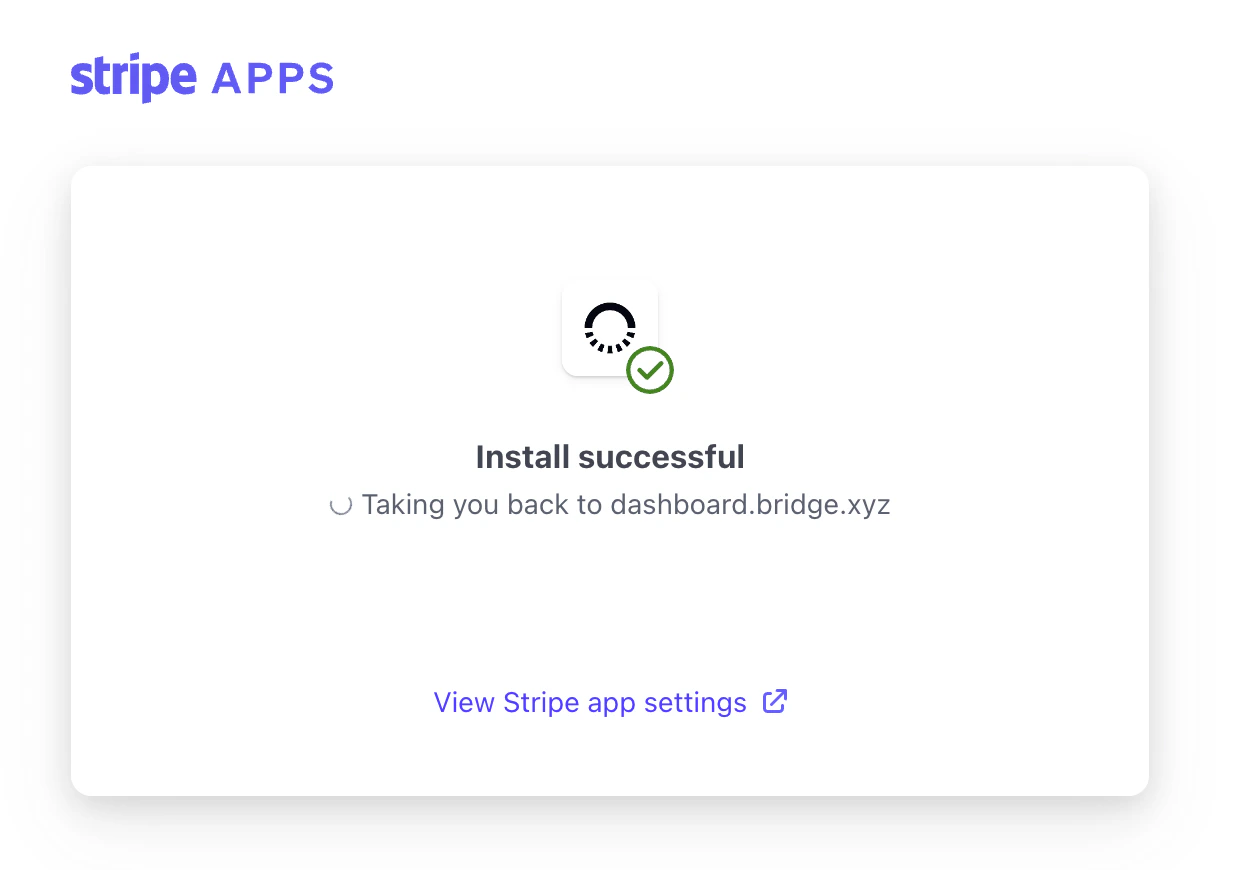
Work with Bridge to get a developer account set up on Bridge. Separately, set up a new Stripe account in the Stripe Dashboard. Bridge will send you a URL (Stripe App Install Link) to associate the Bridge Developer to the Stripe account, and activate Stripe Issuing on this account. This flow will connect Bridge to your Stripe account. Here’s what the flow looks like: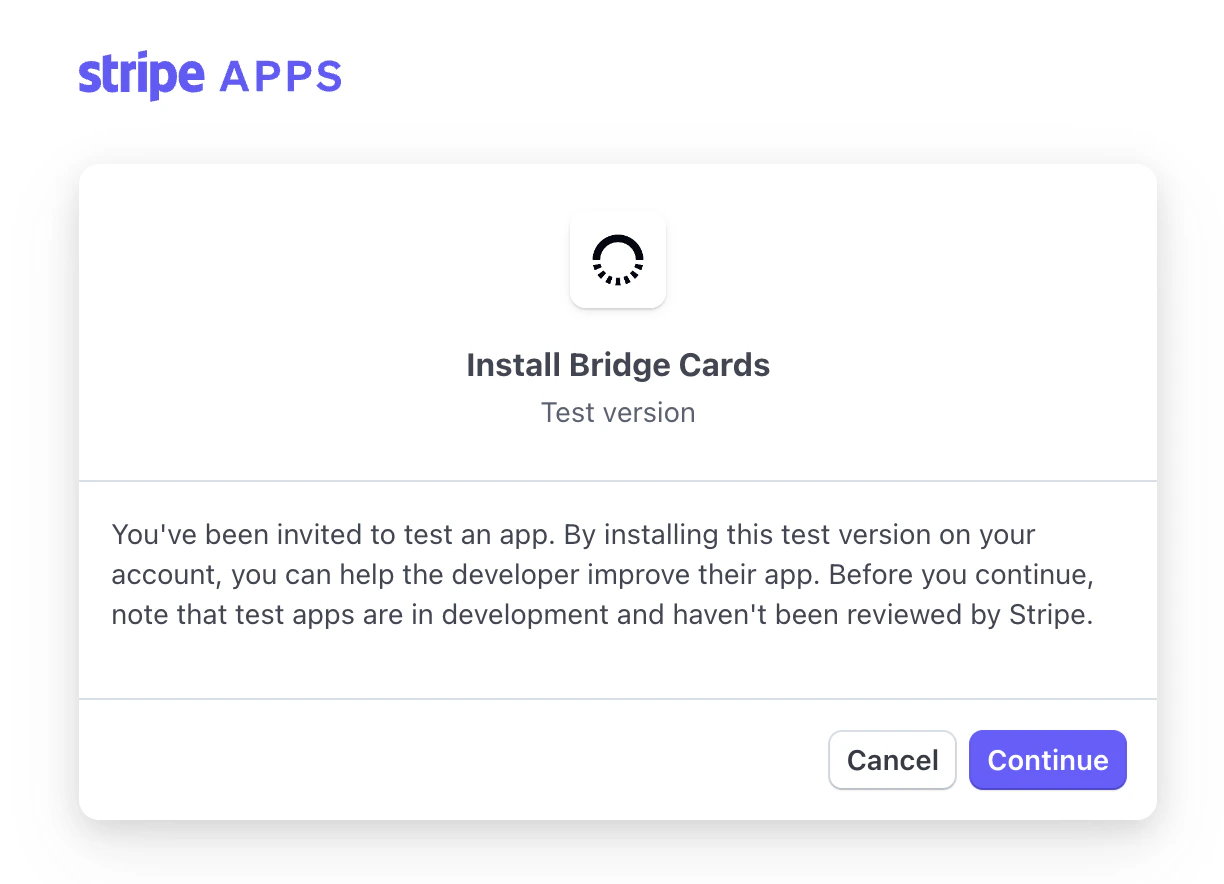
Step 2: Create Customer
The consumer cardholder is represented on the Bridge side as an individual-typed Customer and on the Stripe side as a Cardholder. Bridge manages creating the Stripe Cardholder object, so you only need to create the customer object on the Bridge API. Create a customer using Bridge’s Customer API or Dashboard, and request the cards endorsement on Bridge as described in the cards endorsement KYC guide. After the cards endorsement is approved, the Stripe Cardholder ID is automatically created and visible in the customer object in the API and webhook events:stripe_cardholder_id represents a cardholder already created in Stripe that you can use directly to create cards. If you use Stripe webhooks, you can also receive an issuing_cardholder.created webhook event for cardholder creation notifications.
The Stripe Cardholder API is read-only for Bridge-managed cardholders at the moment, but you can use the cardholder ID to create a card. Bridge automatically manages the status of the cardholder.
As per existing bank partner rules (also outlined in the guide linked above), the cards endorsement requires the customer to have completed the KYC process or confirmed their information within the past 24 hours. After 24 hours pass without a card being created, the endorsement is automatically revoked, and the cardholder transitions to an inactive status in Stripe. You can re-request the endorsement to refresh the customer’s KYC status, which automatically reactivates the cardholder in Stripe.
Step 3: Create Card
Use the created cardholder ID to create a card in the Stripe API. In addition to the standard card creation parameters, you can specify the wallet and balance to associate with the card using thecrypto_wallet parameter. Unlike the Bridge API, the Stripe API uses x-www-form-urlencoded requests.
This is a full-featured version of the Stripe Issuing API that has native stablecoin and noncustodial wallet spending capabilities. You can issue a card from any chain and currency supported by Bridge’s card platform. Here are some example requests for various different types of cards and wallets:
crypto_wallet parameters:
chain: The chain the wallet is on.currency: The stablecoin balance to spend from. Check with Bridge to confirm your stablecoin is supported.- This is different from the main
currencyparameter, which represents the fiat currency that the card is charged in. Currently, this should always beusd.
- This is different from the main
type: The type of funds flow to use. Specifystandardfor noncustodial wallets. The following values are available by default:standard: noncustodial wallet with an approval to Bridge’s smart contract.bridge_wallet: the associated wallet is a Bridge Wallet custodied by Bridge.
address: The address of the crypto wallet.- For Solana, do not specify the associated token account address in this request, as Bridge will automatically derive it from the address and currency specified. In this example, the account’s owner address is
6rXzF4UzvU9qxkRxUP3sTrPJ3YudA8eutFHVz7zcmV6qbut the USDC token account isG95sWJoUTazecyaUz992djQoMzhiqoFz3CgRXxiuScAp.
- For Solana, do not specify the associated token account address in this request, as Bridge will automatically derive it from the address and currency specified. In this example, the account’s owner address is
Step 4: Test card spend
After your card is activated, you can immediately begin testing card spend. To view the card’s details, use the Stripe Dashboard. To display them to your users, embed an Issuing Element into your UI, which uses a Stripe-hosted iframe to serve sensitive card details, keeping your application out of PCI DSS scope. At the time of authorization, Bridge pulls funds from the card’s linked noncustodial wallet on a just-in-time basis, relying on the prior onchain approval. In addition to standard authorization checks, the authorization is rejected if the approval isn’t active, is insufficient for the purchase amount, or there are insufficient funds in the wallet. See this example debit transaction onchain. View your card authorizations using Stripe’s Issuing Authorization endpoints and webhooks.We can’t automatically give control of the
issuing_authorization.request webhook by default due to transaction submission latency requirements. Contact Bridge if you need to make authorization decisions.Webhooks
Use Stripe Issuing webhooks to receive notifications about card authorizations and transactions. Key events includeissuing_authorization.created, issuing_authorization.updated, and issuing_transaction.created. Bridge also emits its own webhooks for KYC status changes.
See the Webhooks guide for the full event reference and onchain lifecycle details.
Next steps
The integration guide above covers the core setup. Explore these pages for more detail on each topic:Customer eligibility and KYC
Endorsement mechanics, Stripe Cardholder creation, 24-hour expiry, and eligibility issues.
Funding strategies
When to use noncustodial vs Bridge Wallet, and the full
crypto_wallet parameter reference.Noncustodial wallets
Step-by-step onchain approval setup for Solana and EVM chains.
Webhooks
Stripe Issuing webhook events, the onchain lifecycle, and Bridge webhooks for KYC.
Additional card features
Physical cards, mobile wallets, spending limits, disputes, fraud tools, and dashboards.
Statements
Monthly card statements via the Bridge API.
Sandbox
Testing with Stripe test mode and the Bridge sandbox environment.