Step 1: Connect Bridge and Stripe Sandbox
If you have not done so already, generate a Bridge Sandbox in the Bridge Dashboard in the API keys page. This will generate a Bridge sandbox environment for your Bridge user, and an API key to interact with it. Separately, if you have not done so, create a Stripe Sandbox. If you don’t already have a Stripe Account, you can create a new one here. Install the Bridge Cards Stripe App on the sandbox account to give Bridge access to your sandbox Stripe account. Additionally, for testing commercial cards, you will need to enable Stripe Connect on your sandbox account. Next, you can connect your Stripe Sandbox to your Bridge Sandbox by passing in the Stripe account ID and program type, like so:program_type, you may pass in consumer for consumer card issuing, or commercial for commercial card issuing.
Note that Bridge sandbox environments are created per-user (not developer). One Stripe sandbox account may be connected to one Bridge sandbox account. For now, this step is necessary for Bridge to know which Stripe sandbox to associate your Bridge account to.
Step 2: Create a customer
Next, you’ll create a customer to represent the individual or business entity that you’re creating cards for, and obtain thecards endorsement. Depending on your program type, the type of customer you’ll be creating will be different:
- For consumer cards, you’ll be creating an individual-typed customer. When the
cardsendorsement is granted, Bridge will automatically create a Cardholder in Stripe that you can use directly to create a card. - For commercial cards, you’ll be creating a business-typed customer. When the
cardsendorsement is granted, Bridge will automatically create an Account in Stripe to represent the business. You can then further create Cardholders to model authorized users for that business and create cards for those cardholders.
Obtain Cards Endorsement
Within the customer object, you can track the customer’s eligibility for cards by looking at thecards endorsement. Here’s an example cards endorsement with some missing requirements:
government_id_verification, database_lookup, blocklist_lookup, and pep_screen should be processed automatically within seconds, but the customer will need to accept the terms of service, which you can fetch using the tos_link field from the customer object.
You may also complete KYC or confirm KYC details using a Bridge hosted link, like so:
cards endorsement is approved, the customer object will look like the following:
Individual customers
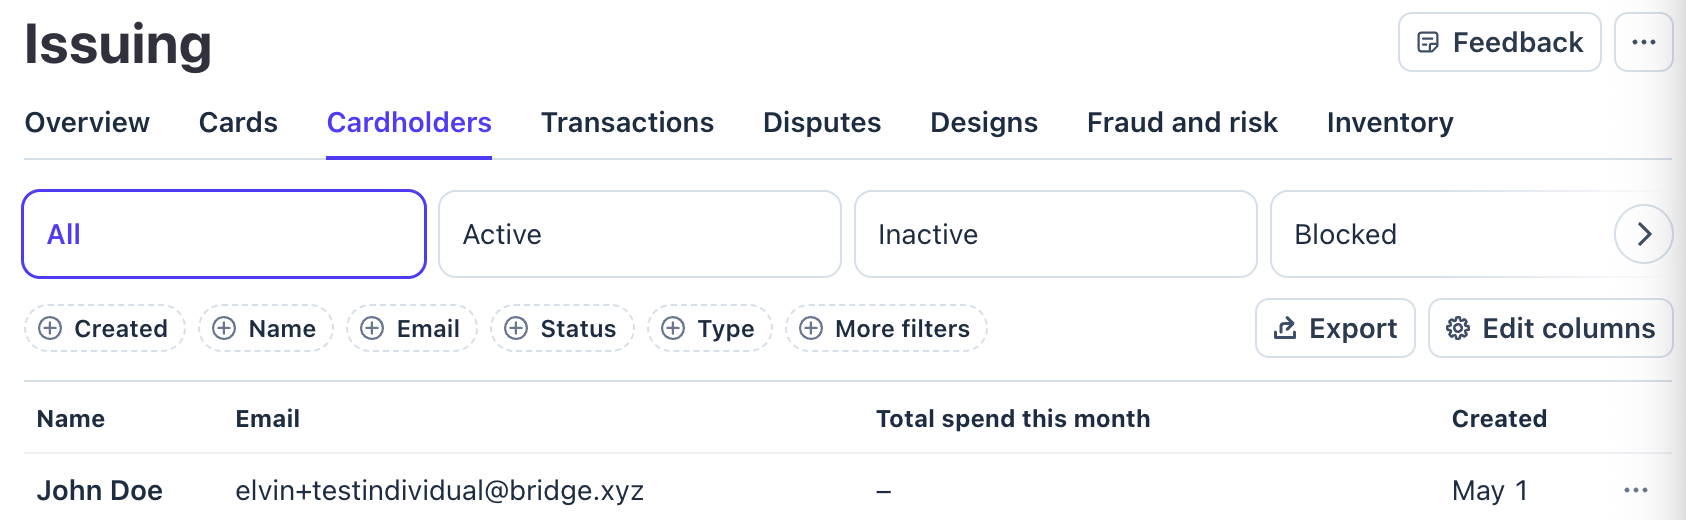
For individual customers, thestripe_cardholder_id from the Customer object represents the ID of a Cardholder in Stripe. You can confirm that it now exists within the Issuing > Cardholders section of your Stripe dashboard:
inactive state. The customer only has to reconfirm their information to be regranted the endorsement. More details about the cards eligibility requirements are available here.
Business customers
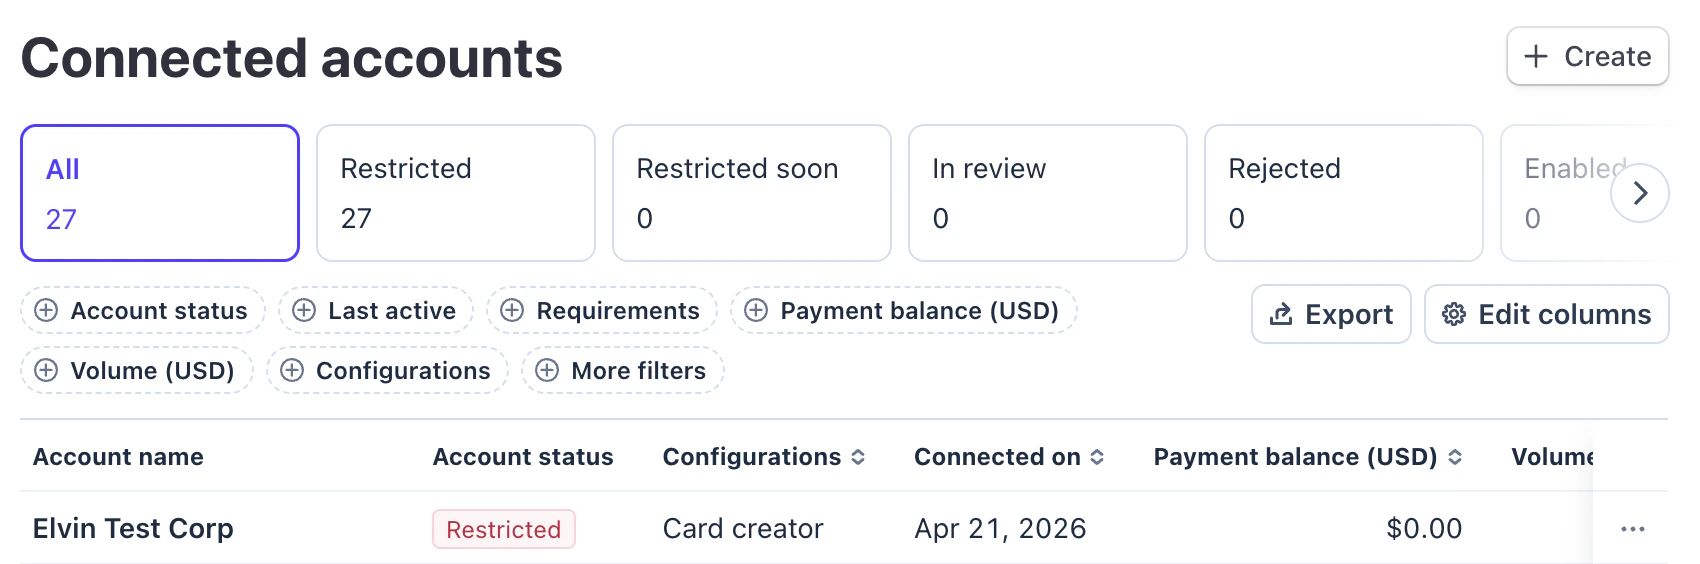
For business customers, thestripe_account_id from the Customer object represents the ID of a new Stripe Account created under your main Stripe Account. You can think of this new account as a subaccount representing the business onboarding onto your platform. (Learn more about how Accounts are modeled within Stripe Connect here.)
You can verify that the created account now shows up in your Stripe Dashboard in the Connected accounts section:
stripe_account_id. You should use your main Stripe API key to make the request, but populate the Stripe-Account header with the Stripe account ID of the business.
Note: even if you created associated persons for the business-typed Customer in Bridge, you’ll have to create Cardholders in Stripe to specifically represent their cardholder state.
In production, you’ll have to surface the Lead Bank terms to the cardholder as well, and record the IP and date of acceptance. In sandbox, you can test with an IP of
0.0.0.0 and any valid date.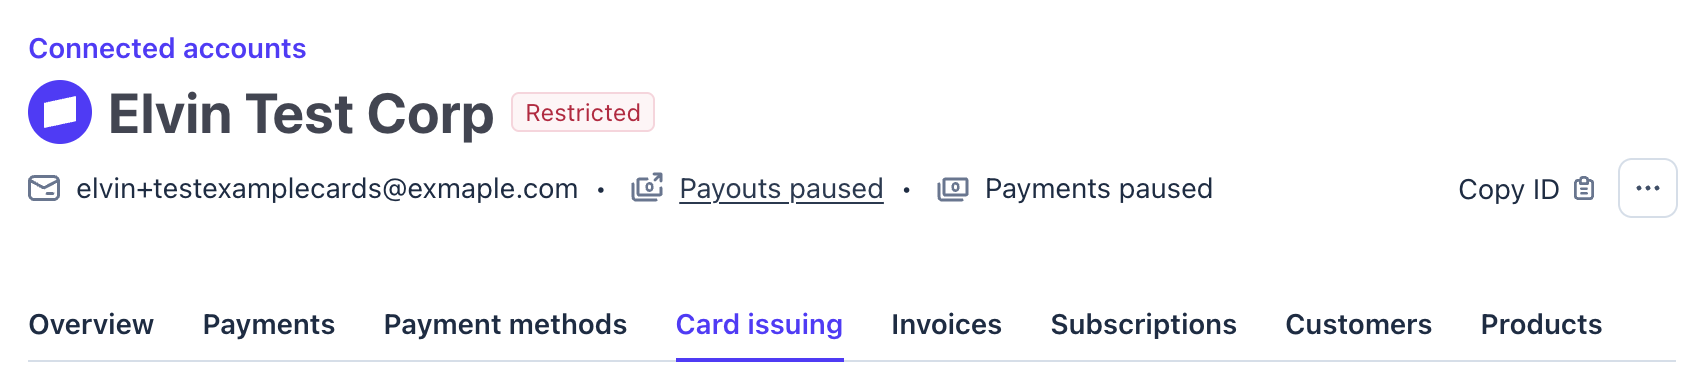

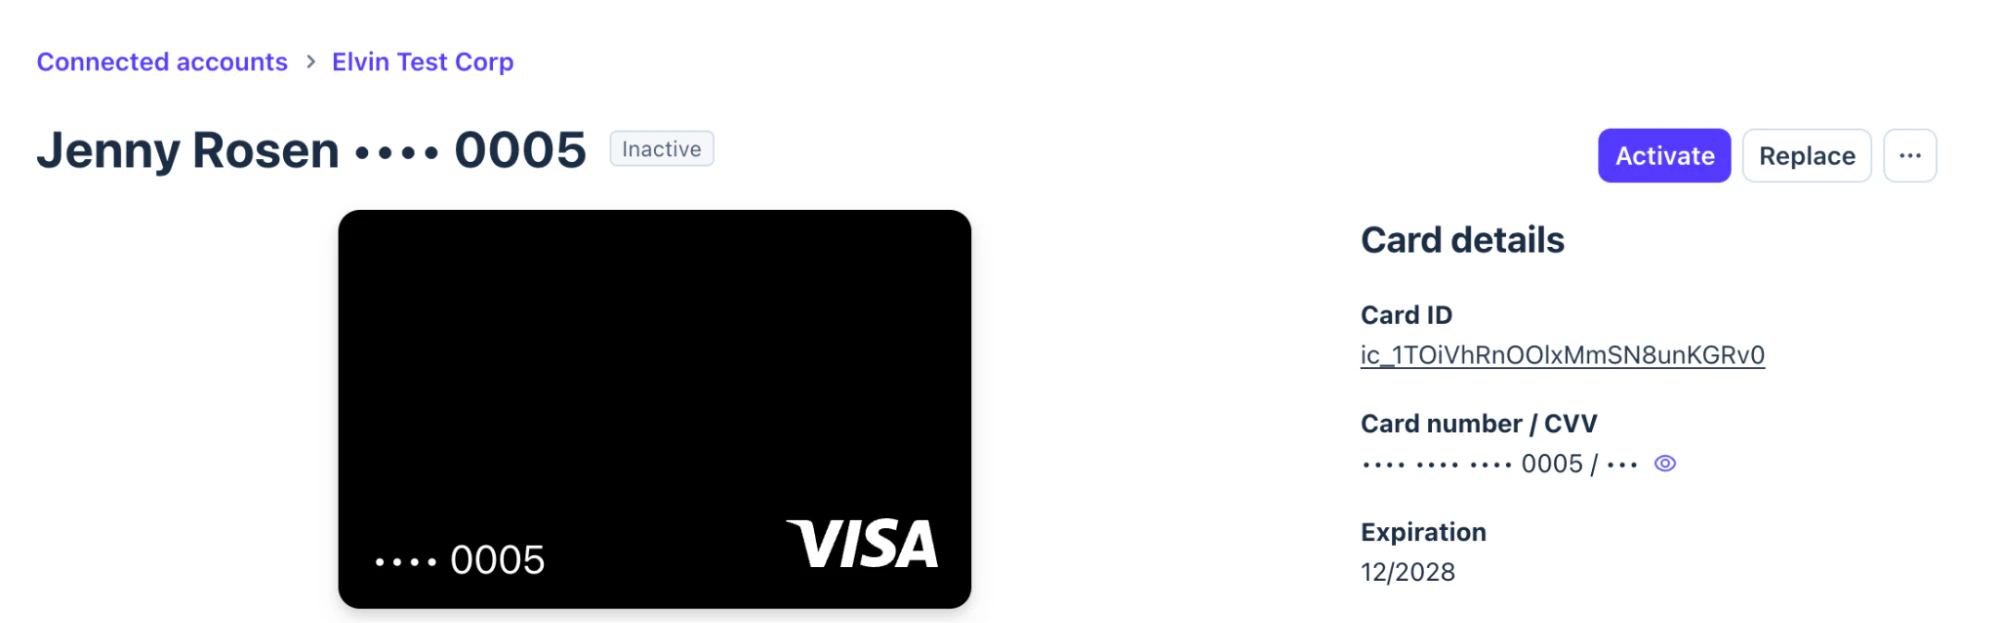
Step 3: Create a test card
Create test cards for the cardholder. Bridge has full support for testing cards issued against custodial wallets using simulated Bridge Wallets, and noncustodial wallets on Solana devnet and Base Sepolia. See more information about thecrypto_wallet parameter here. Here are some example card creation requests:
- For consumer cards, multiple cards may share the same wallet, as long as they belong to the same Stripe Cardholder tied to the same customer on Bridge.
- For commercial cards, multiple cards and cardholders may share the same wallet, as long as they belong to the same Stripe Account tied to same business customer on Bridge.

- Base Sepolia: Bridge has a standard spender contract deployed at 0x8CC0D9e8a157b73d1172a22f5066048Bda46c0e3. You should submit a standard ERC-20 approval for this spender to debit funds from your wallet.
- Solana devnet: Use the
MERCHANT_IDof1and devnet USDC4zMMC9srt5Ri5X14GAgXhaHii3GnPAEERYPJgZJDncDU) as mint.
Note: for EVM, we also support deploying custom issuer implementations for different approvals flows and transaction flows; contact Bridge for further details.
Step 4: Simulate card transactions
You can use Stripe’s test infrastructure to simulate card authorizations and transactions. Refer to the Stripe Issuing testing documentation for:- Simulating approvals and declines
- Testing incremental authorizations
- Triggering specific decline codes
- Simulating disputes
crypto_transactions field.
Here’s an example card authorization in which $1.17 USDC was charged from the linked noncustodial wallet on Base Sepolia, with a corresponding onchain transaction 0x939f97ee0019eba5db5b3cf8466ec01e6c2f62deef3af1bab83a885a1f58e2db submitted by Bridge. Below is how the crypto transaction is represented on the Issuing Authorization object.
Test webhooks
Use the Stripe CLI to forward Stripe Sandbox webhooks to your local server:issuing_authorization.created, issuing_authorization.updated, and issuing_transaction.created webhook handlers locally.
Make sure that the
issuing_authorization.request webhook event is disabled from your Stripe CLI webhook, as it could intercept the authorization request and automatically deny it.